This is the first post in a new series about the Git GUI tool that works directly in your terminal: Lazygit. You can see a list of all of the posts in this series by visiting the Lazygit Series tag.
Let’s face it: managing Git repositories via command-line commands can sometimes feel cumbersome and repetitive. You might be familiar with the basic commands, but as your projects grow, so do your Git management tasks — staging, branching, rebasing, merging, resolving conflicts, and more.
Imagine a tool that brings a visual, interactive interface right into your terminal, making Git operations faster, clearer, and more intuitive — all without leaving your command line environment.
Enter Lazygit, a terminal-based Git UI that simplifies and streamlines Git management, transforming your workflow into a more relaxed and efficient experience.
In this guide, we’ll explore what Lazygit is, how to install it, and how to leverage its features to supercharge your Git process — whether you’re a beginner or a seasoned developer.
What is Lazygit?
Lazygit is a lightweight, open-source terminal UI for Git. It provides a visual, easy-to-understand interface that allows you to perform common Git operations — like staging files, creating branches, rebasing, and pushing — with simple keystrokes.
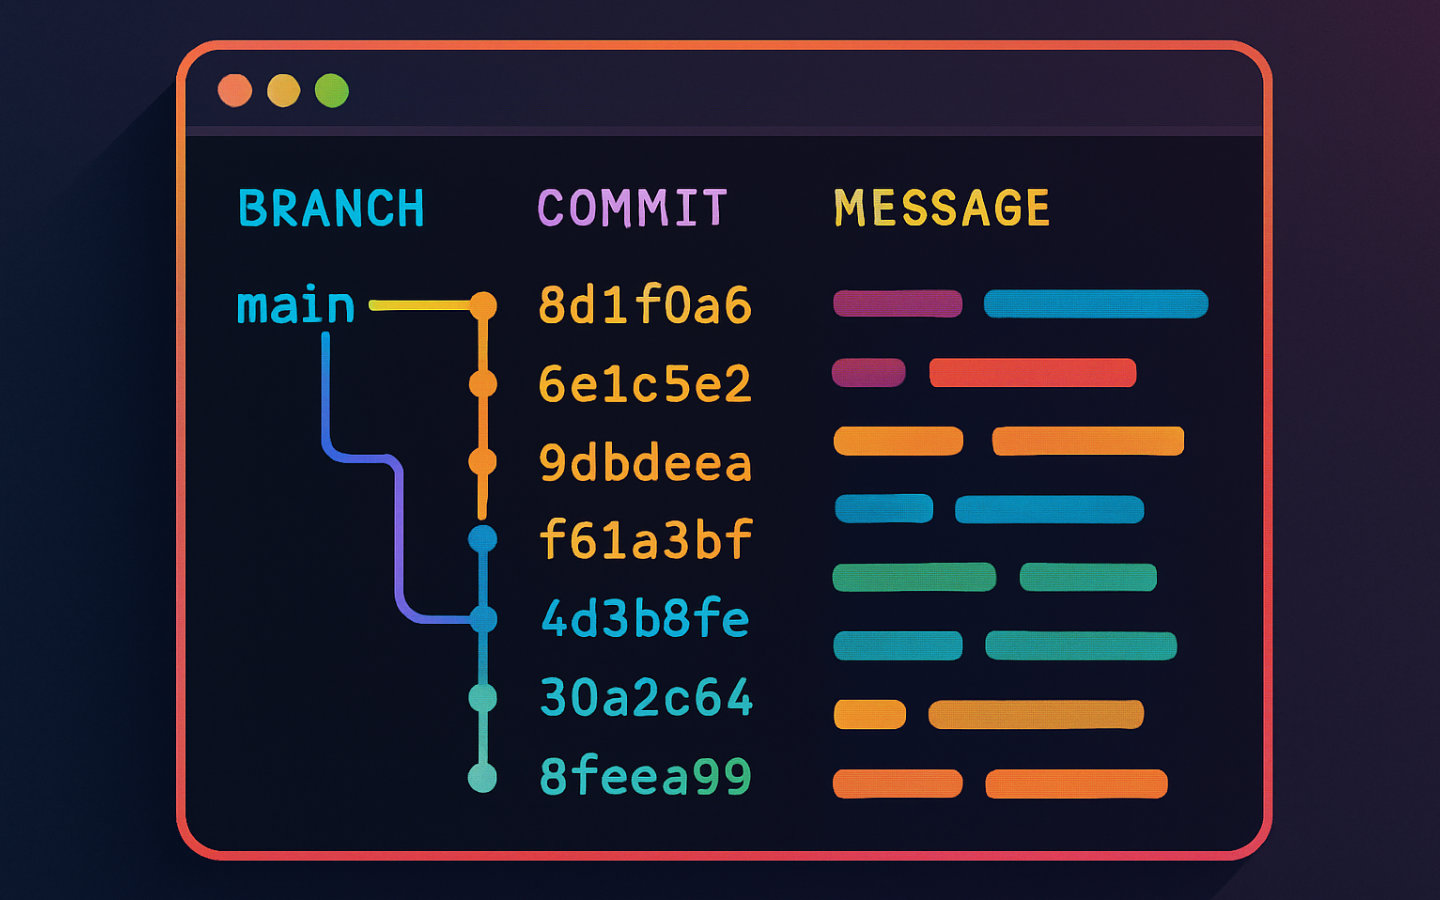
Think of Lazygit as your Git dashboard right inside your terminal. It displays commit history, branch trees, status updates, and diffs visually, so you understand your repository’s state at a glance.
One of its standout features is that it lets you see your commands executing in real-time, helping you learn Git commands as you use the tool. This makes Lazygit an excellent choice for developers looking to deepen their understanding of Git workflows while keeping things straightforward.
Why Use Lazygit?
Traditional Git commands are powerful but can be intimidating, especially when managing complex repositories. Lazygit offers several benefits:
- Visual interface: Clear panels for files, branches, commits, and stashes.
- Keyboard-driven: Perform actions rapidly without typing long commands.
- Context-aware: See unstaged and staged changes, diffs, and logs instantly.
- Conflict resolution: Guides users through resolving conflicts step-by-step.
- Learn with convenience: Commands are displayed and executed visually, easing learning curve.
- Customization: Supports setting shortcuts and creating custom commands.
Many developers find that Lazygit reduces mistakes, speeds up workflow, and minimises frustration with Git’s CLI syntax.
How to Install Lazygit
Installing Lazygit varies slightly depending on your operating system. Here are the most common methods:
macOS
brew install lazygit
Ubuntu / Debian
sudo apt install lazygit
Windows
Using winget:
winget install --id=JesseDuffield.lazygit
Pre-built Binaries
Alternatively, download prebuilt binaries from the Releases page.
Using Lazygit: An Overview of Key Panels
Once installed, navigate to your repository folder and run:
lazygit
This opens the interactive terminal UI, divided into several key panels:
- Status Panel — Displays your current branch, staged, unstaged, and untracked files. Press
1to toggle. - Files Panel — Shows all modified files with options to stage/unstage individual lines or entire files. Press
2to toggle. - Branches Panel — Lists local and remote branches with options to create, switch, delete, or rebase branches. Press
3to toggle. - Commits Panel — Shows recent commit history. Press
4to toggle. - Stash Panel — Manage your stash: save changes or apply stashed content. Press
5to toggle. - Preview / Diff Panel — Allows you to preview changes, diffs, or logs, helping you understand exactly what’s being committed or changed.
You can also use the mouse to choose items in the panels.
When you’re inside a panel, use [ and ] to move between the tabs inside that panel.
Core Operations Made Easy
Staging and Unstaging Files
Highlight files in the Files panel.
Press Space to toggle staging for the file or directory.
Alternatively, with a file selected, press Enter which moves into precision commit mode.
From here, you select which lines you want to stage with the cursor keys, using Shift to highlight multiple lines.
Then you press Space to include those lines in the staging area.
Move between the Staged changes and Unstaged changes panels using the Tab key.
Once you’re happy with your choices, press Esc to exit the precision commit mode.
Committing Changes
Once you have all your desired changes in a staged state, press the c key while the Files panel is still focussed.
A dialog appears asking you to provide your commit message and description.
Branching and Merging
Navigate to the Branches panel (3).
Use shortcuts to create (n), delete (d), or switch/checkout branches (Space).
To rebase onto another branch, select your branch, press r, and choose the upstream branch.
Rebasing and Amends
Rebase interactively with r, selecting commits to reapply as needed.
When the Files panel is in focus, A amends the most recent commit.
If the Commits panel is in focus, A amends the highlighted commit.
Pushing and Pulling
Push your current branch with P, or else use lowercase p to pull in latest changes.
Conflict Resolution
Lazygit detects conflicts during merges. It guides you through resolving conflicts by showing markers and offering commands — all within the UI.
Customizing Lazygit
Lazygit can be tailored to your workflow:
- Bindings: Change key shortcuts in
.config/lazygit/config.toml. - Commands & Aliases: Automate recurring tasks.
- Theme & layout: Adjust colours and layout for personal comfort.
Check the Official Documentation for comprehensive customization.
Practical Tips for Maximising Lazygit Efficiency
- Use the search feature (
/) to filter commits, branches, or files. - Preview diffs before acting to avoid mistakes.
- Stage individual lines or hunks for clean commits.
- Integrate with editors: Use plugins like neovim’s lazygit.nvim for seamless workflows.
Wrapping Up
Lazygit elevates Git from a command-line chore into a visual, manageable process right inside your terminal. Its intuitive interface, combined with powerful features like staging, rebasing, conflict resolution, and branch management, makes Git workflows faster and less error-prone.
If you spend significant time working with Git, give Lazygit a try — you might wonder how you ever managed without it.
Explore its capabilities, customize to your needs, and see how your Git productivity skyrockets.
For further learning, visit the Lazygit GitHub repository and the community wiki. If you want to share your experiences or ask questions, feel free to reach out on your preferred developer community or connect with me.
Happy Git managing!